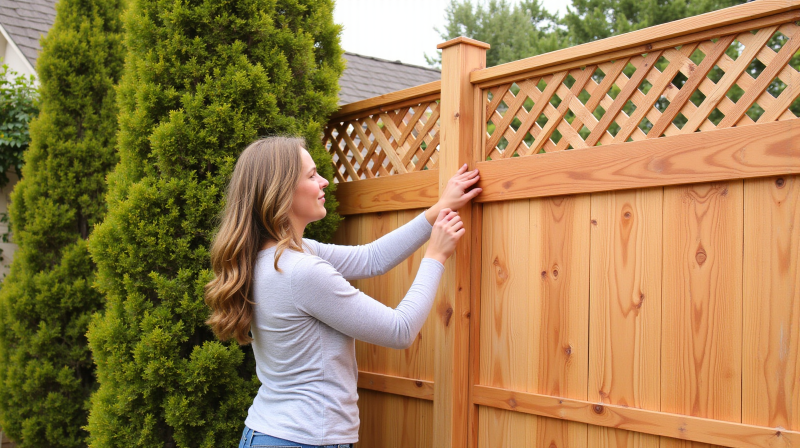
If you’ve ever stepped outside and noticed your wooden fence leaning like the Tower of Pisa, you’re not alone. Broken or rotting fence posts are one of the most common maintenance issues for homeowners, especially after heavy wind, rain, or just years of wear and tear.
But here’s the good news—you don’t have to rip out the entire fence or spend a fortune on a contractor. Fixing a broken fence post can actually be a pretty straightforward DIY project with the right tools and a little know-how. Let’s break it down.
🔍 How Do Fence Posts Break in the First Place?
Before jumping into repairs, it’s good to know why your post broke so you can prevent future issues. Common culprits include:
- Rotting at the base due to prolonged exposure to moisture
- Termite or insect damage
- Heavy winds or storms
- Poor installation or concrete cracks
- Old age—let’s be real, nothing lasts forever!
🛠️ What You’ll Need to Fix a Broken Fence Post
Here’s your essential toolkit:
- A post repair kit (like a post mender or anchor support)
- A shovel or post hole digger
- Concrete mix or fast-setting concrete
- A level
- Hammer and nails or screws and a power drill
- Saw (if removing part of the old post)
- Safety gloves and glasses
- Replacement wood (if needed)
👉 Recommended Tool: Fence Post Mender/Repair Anchor Kit on Amazon
This heavy-duty steel post anchor is game-changing for stabilizing wobbly or broken fence posts without pulling out the entire concrete base.
🧱 Step-by-Step Guide: Repairing a Broken Wooden Fence Post
Step 1: Assess the Damage
Is the post snapped completely, or just leaning? If the post is only loose, you might be able to stabilize it without removing anything. But if it’s rotted or cracked, time for a deeper fix.
Step 2: Remove Fence Panels (If Needed)
To get proper access to the post, you might need to temporarily remove the panels attached to it. Use a drill or crowbar to unscrew or pry them off gently.
Step 3: Dig Around the Post
Using a shovel, dig out about 6–10 inches around the base. This lets you see if the post has rotted underground or just shifted in loose concrete.
Step 4: Use a Post Repair Anchor
Here’s where the magic happens. Slide the post mender anchor into the ground next to the broken post. Use a sledgehammer to drive it down until it’s secure. These steel menders act like a metal splint—reinforcing the base without needing to dig everything out.
💡 Tip: Make sure it’s driven deep enough to offer solid support, and check alignment with a level.
Step 5: Secure the Post
Once the mender is in place, reattach the post using heavy-duty screws or bolts. If the top part of the post is too damaged, you may need to cut it and attach a new section with metal brackets.
Step 6: Add Concrete (Optional but Recommended)
For extra strength, pour quick-set concrete around the base. This helps lock everything in place and adds long-term durability. Mix it according to the instructions and let it cure fully (usually 24–48 hours).
Step 7: Reattach Fence Panels
Once everything is solid and straight, go ahead and reattach the fence panels. Use galvanized nails or outdoor-grade screws to prevent rusting.
🧽 Maintenance Tips to Prevent Future Fence Drama
- Seal your wood with a weatherproof stain or sealant every couple of years
- Keep grass and soil buildup away from the base to reduce moisture exposure
- Consider gravel at the base instead of concrete for better drainage
- Do annual inspections and catch issues early before they turn into full repairs
🔧 When Should You Replace the Post Entirely?
Sometimes the damage is too far gone. If:
- The post is split from top to bottom
- The wood crumbles when touched
- The concrete base is cracked and loose
…it’s better to bite the bullet and do a full replacement. But for most leaning or broken-at-the-base posts, a mender will save the day.
🛒 Get the Right Gear First
Don’t waste time and effort with makeshift fixes. Grab a reliable post anchor kit to make this job quick and painless.
👉 Click here to check it out on Amazon
👋 Final Thoughts
Fixing a broken wooden fence post might seem intimidating at first, but it’s totally manageable with a bit of elbow grease and the right support gear. Not only will your fence look better, but it’ll also last much longer—saving you time, stress, and money.
Have you tried fixing a post yourself? Drop your tips or horror stories in the comments if you’re posting this on YouTube or a blog—it helps others learn too!


